
PDFShift + n8n
Generate PDFs and screenshots inside your n8n workflows with the official, n8n-verified PDFShift community node, no HTTP wiring required.
Step-by-Step Setup Guide
1. Get your PDFShift API key
Create a PDFShift account and grab your API key from the dashboard under “API Keys”. Keep it private! You’ll paste it into n8n’s credential store, which encrypts it for you.
Register for Free2. Install the verified node
PDFShift is a verified community node, so you can install it straight from the canvas without having to install any external npm package. An instance owner or admin needs to install it once, then it’s available to everyone on the instance:
- Open a workflow and select + (or press n) to open the nodes panel.
- Search for PDFShift. It appears under More from the community.
- Select it to review its details and supported actions.
- Select Install to enable it across your instance.
On n8n Cloud, instance owners enable verified community nodes from the Cloud admin panel; on self-hosted instances they’re controlled with environment variables.
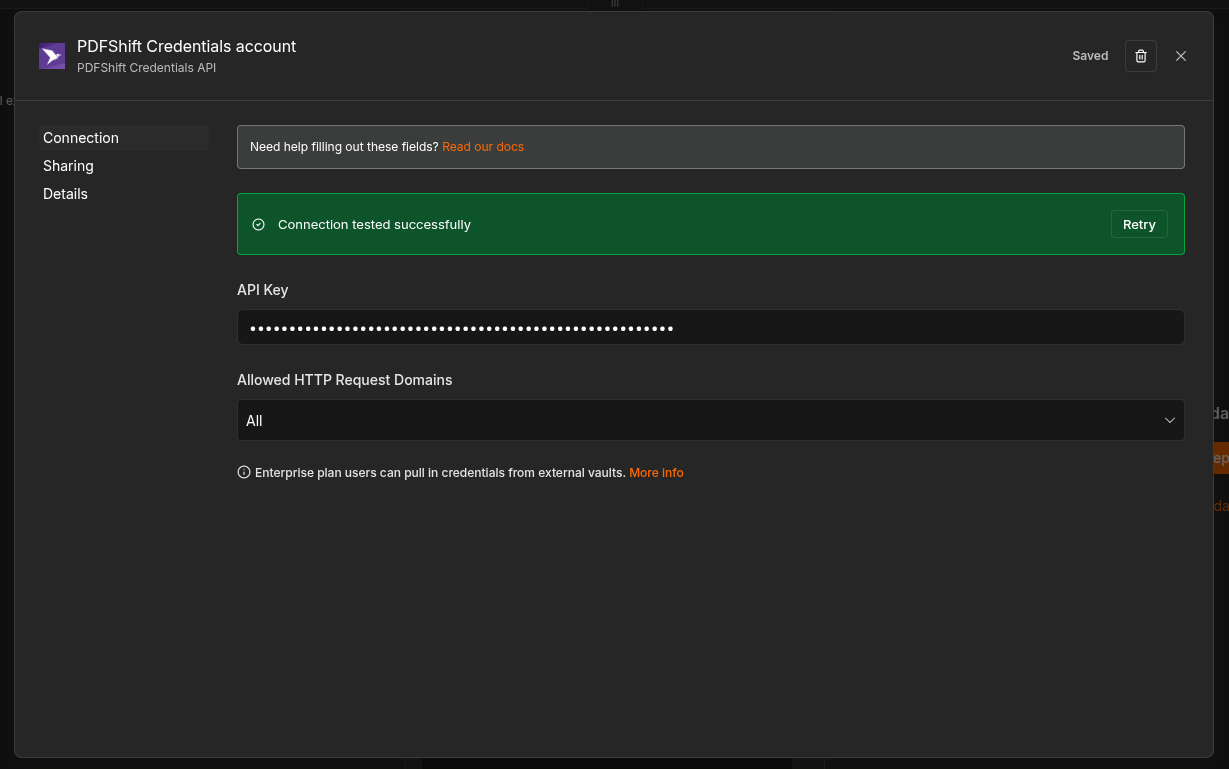
3. Add your PDFShift credentials
Once the node is installed, connect it to your PDFShift account:
- Add and use the PDFShift node in your workflow.
- Under “Credential to connect with”, click Create New Credential.
- Paste the API key you copied from your dashboard, then test and save.
4. Choose an operation
Drop the PDFShift node after any trigger, pick an operation, and provide your source (a URL or raw HTML). The node handles authentication and the API call for you. See the operations available below.
Available Operations
The PDFShift node exposes 3 operations to cover the most common document tasks:
Convert to PDF
Turn any HTML source — a URL or raw HTML — into a polished PDF document.
Generate a Screenshot
Capture any website or HTML as an image, perfect for OG:images, thumbnails, and previews.
View Credits Usage
Check your remaining credits to manage your account and plan ahead.
Available Response Types
Depending on the options you set, the PDFShift node returns the result in one of two formats. When you provide a filename or an s3_destination, you get a JSON payload with a hosted URL and metadata:
{
  "data": {
    "success": true,
    "url": "https://s3.amazonaws.com/pdfshift/.../generated.pdf",
    "filesize": 259972,
    "duration": 1500,
    "executed": "2025-12-02T12:34:56.789Z",
    "pdf_pages": 5
  },
  "filename": "generated.pdf",
  "mimetype": "application/pdf"
}
Otherwise, the raw file is returned as binary data you can pass straight to the next node: